lördag 26 november 2011

Finished

Today I finished the overhaul of the Baywatch. The playfield was dropped back in the cabinet and connected to the cabinet and the circuitboards in the top box. A last polish of the playfield, just in case there was some dust at it before dropping back the balls in the game. I printed out new instruction and score cards from the IPDB at the color laser and laminated them in a plastic pouch before cutting them out. I fired the game up and went through the switch, lamp, flasher and coil tests. Everything passed without problems except for two lamps that didn’t light. Fortunately they were easy to access, it was the start button and the red light at the top of the ‘Search and rescue’ sign. When playing a few balls I noticed that the innermost of the two in lanes at the right side had some problems with the switch, if the ball came rolling with low speed it didn’t manage to push down the wire arch and instead got stuck against it. When inspecting the switch it looked like the wire arch was a bit higher than other switches. I made a 2.5 mm spacer by a piece of Lexan and put it between the switch bracket and the playfield. This lowered the wire arch enough to allow the ball to push it down and close the switch even when rolling really slowly. This game plays very well and is certainly a keeper, but unfortunately it’s not mine and the owner has already sold it to a buyer who is waiting to get the game delivered. I haven’t counted the time I spent together with this machine, I would estimate it to something between 25-30 hours. It was absolutely worth all the work to get it in to the best possible shape. Now I’m looking forward to the next project. The Coney Island machine will have to wait for a while, instead I’ll have a look at a Gameplan Star trip that has been standing here for quite some time.


The quality control team is checking the quality of the job done.

onsdag 23 november 2011

Last parts arrived

Today I got the shipment of the fuse holders. I had already removed the old ones and soldering in the new ones was a quick job. But unfortunately it was all I had time for today.

måndag 14 november 2011

Electronics

Today I went through the electronics of the game and it wasn’t just good news. I first looked at the soldering of the connectors and there were a few cracked solder joints and a few more not looking good, but as a rule, re solder all of them. The not so good news is that almost all of the fuse clips are bad and needs to be replaced. There are 28 of them and I just had 12 in stock so I had to order some more…  The fuse clips of these games are known to be really bad and they can cause a lot of different problems and symptoms.  If you have a DataEast/Sega pinball that acts strange, first check the fuse clips. Use a small screwdriver and gently press against the clip. If it is OK you should feel the clip fighting back but most likely it just folds away.

lördag 12 november 2011

Playfield complete

The playfield are now complete and ready to be put back in to the cabinet. I have also cleaned the cabinet and the coin door, which also had a chewing gum in the coin slot. There are still a few things to take care of, but soon it's ready for a first test play.

onsdag 9 november 2011

Cleaning and reassembling II

When playing the game before disassembling it I noticed that the ball launch plunger sometimes didn’t manage to get the ball all the way up to the top of the playfield.
I found the reason when disassembling the ball launch assembly for cleaning, the coil sleeve flange was broken and the sleeve had moved out of the coil and the plunger scratched against the coil bracket. A new coil sleeve is mounted and I expect the ball being launched right through the back of the cabinet.

All the ramps and playfield plastics are now cleaned and polished and the upper part of the playfield is reassembled but there is still some work to do at the front.


lördag 5 november 2011

Cleaning and reassembling

Today I have cleaned and polished the playfield, it was very dirty but it came of god with the help of Novus and a lot of work. After polishing it with wax it shines as it is almost brand new.
Also all rubbers and lamps are changed and I have started to reassembling the playfield again. There are still a lot of cleaning to do to the ramps and plastics for the playfield, but one step at a time…


fredag 4 november 2011

Under the playfield II

I’m now finished at the underside. Everything is put back together again, the faulty micro switch in the return lane is changed and nuts and bolts are checked. There was also a toasted connector in the top box end of the wire loom, I changed it while having the wires at the workbench.

onsdag 2 november 2011

Under the playfield

I have been working at the underside for a while, but I am still waiting for some spare parts so it’s not yet completed. All controlled lamps have been replaced, the inserts cleaned and the circuit boards inspected for bad or cracked soldering. I have also disassembled the drop target assembly and cleaned the targets. The return lane from the beach house is now clean. I had to use the bath tub and soak it in water to get rid of all dirt, and then I also had to clean the bath tub…
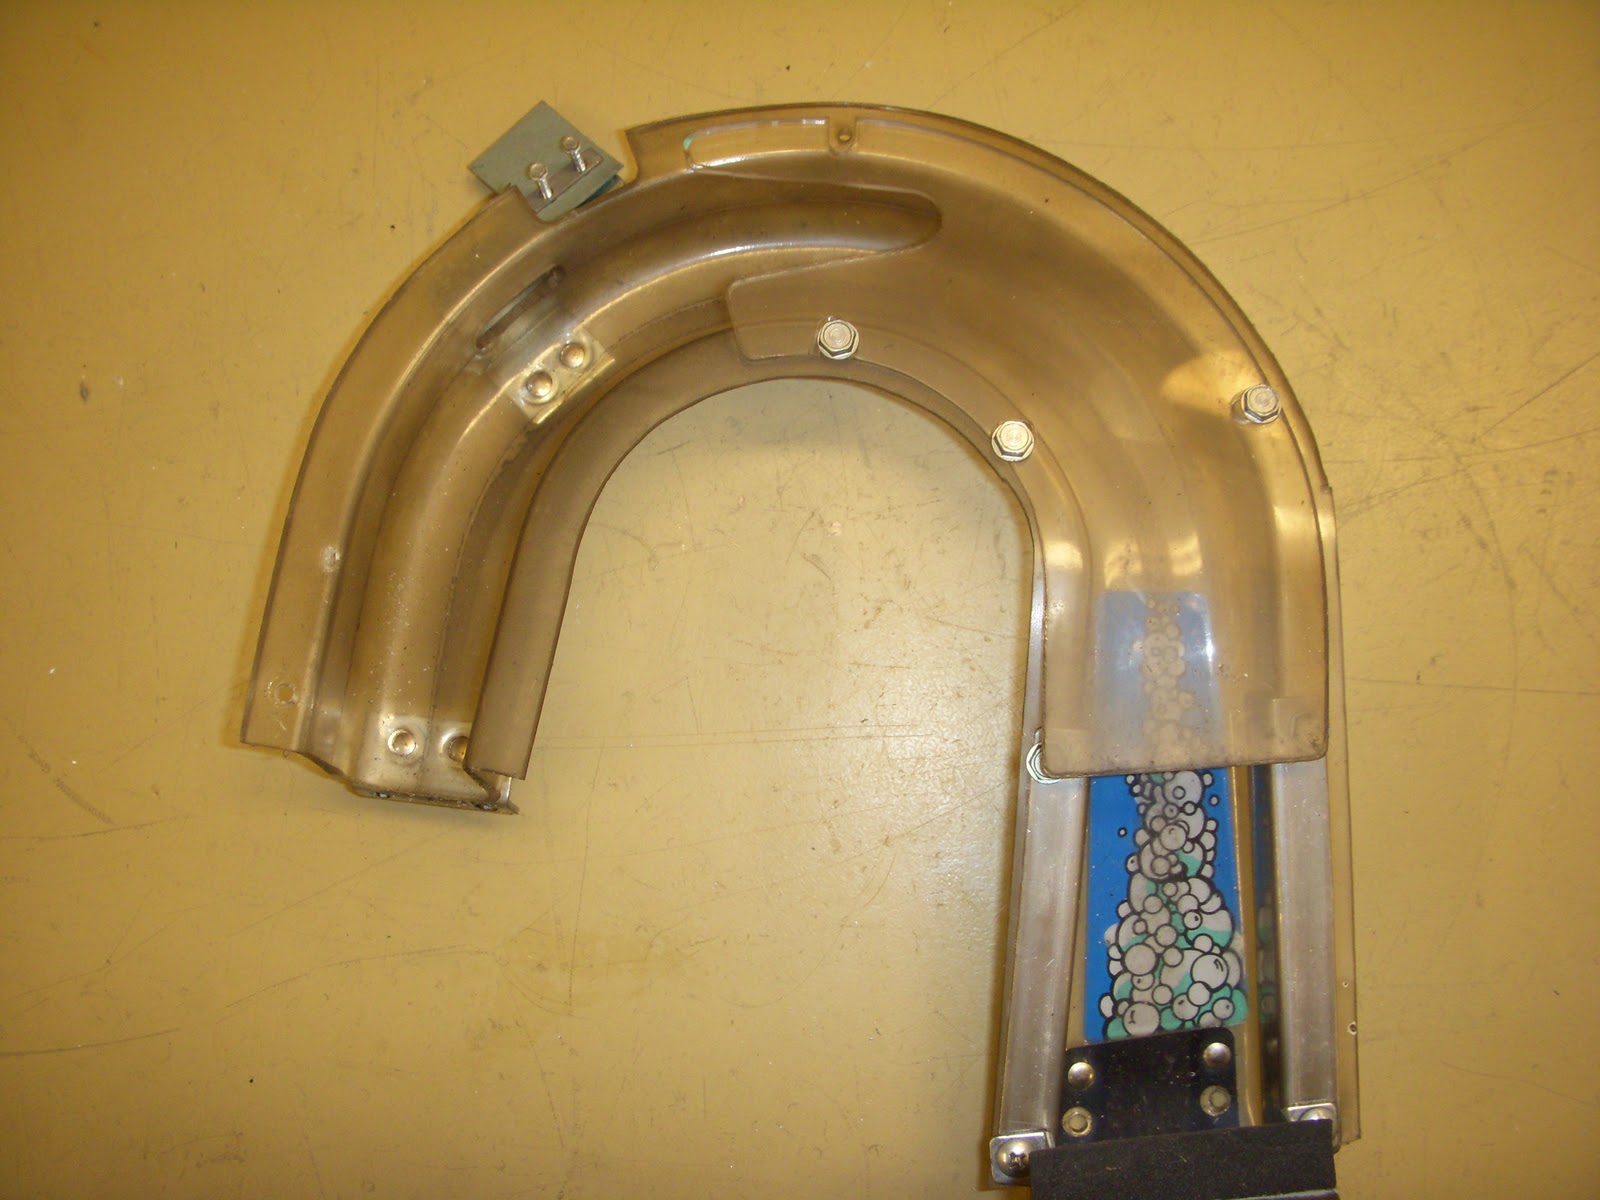
When removing the return lane from the playfield I found that the top screw bracket was broken. It’s not so surprising since it is a quite high drop for the ball from the ramp in the house down to the return lane. To make sure not also the next pair of brackets should crack I used a metal strip lined with shrink tubing to lock it in place.