I am now almost ready with the underside
of the playfield. I have gone through the other three flipper assemblies,
cleaned all parts and polished the plungers and installed new coil sleeves. I
found holes drilled through the playfield also under the upper right flipper.
This time the holes are covered by a plastic at the upper side. The holes seems
to line up with the screw holes for the coil stop at the flipper assembly,
but I can’t figure out why somebody should do something like this. Note that there are two diffent lengths of the screws holding the end of stroke switch in the pictures below.
Two flipper
bats was cracked, this is the old type of flippers where the bat and the shaft
are two separate pieces. I had a replacement for one of them, a large standard
sized bat. But also the smaller flipper bat is cracked and I do not have a
replacement for this one, I’ll try to find one else I have to order one. There
is no idea to try to glue it together, it won’t hold.
The slingshots are also ready. All parts are cleaned, the plungers polished and new coilsleeves.
Note that there are three different screws holding the slingshot assembly in the picture below. The one to the left is original and the upper right screw was just long enough to make a dent in the playfields upper side once it was scewed in. The two non original screws will not go back in the playfield again.
The eject hole assembly are cleaned and put back in to the playfield. this is the unit that originally had a fried coil and the new coil came with a new coilsleeve.
Last
assemblies to go through are the three bumpers. I have dissembled the parts on
the playfield underside, cleaned them and polished the plungers and they will
have new coil sleeves once they are reinstalled. But before doing that I need to
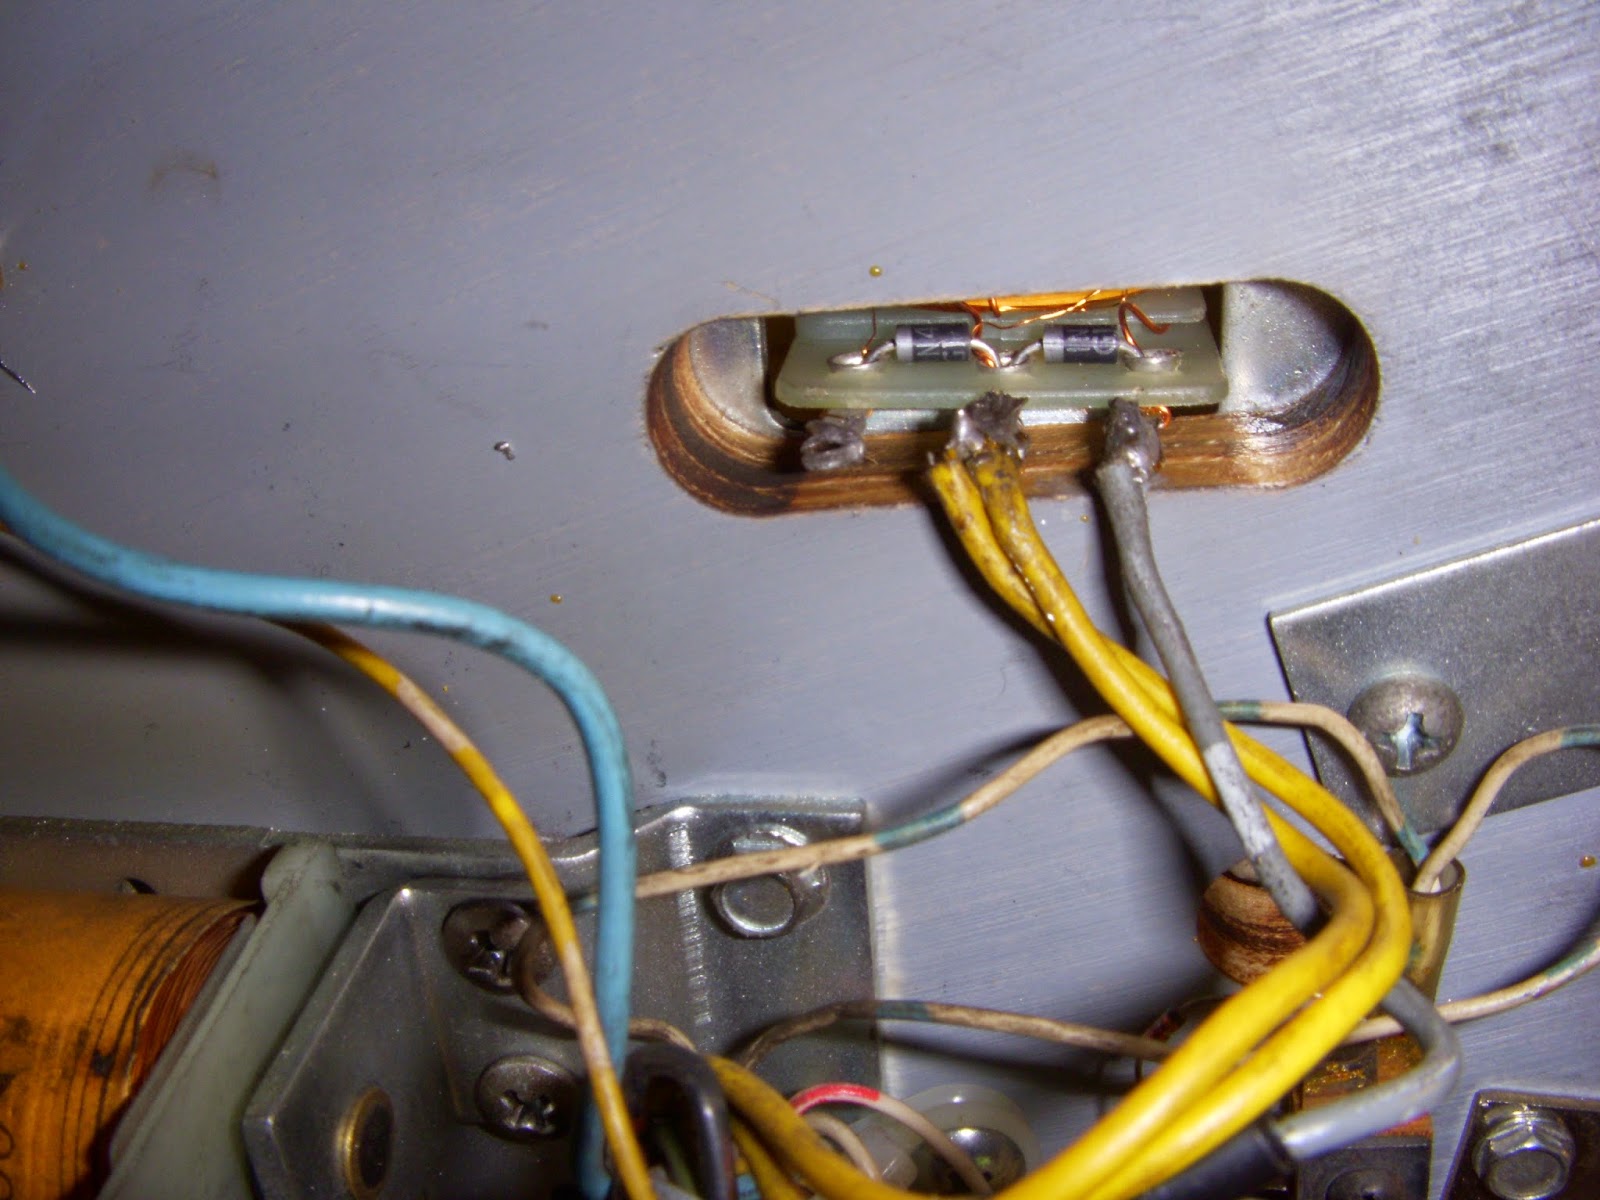
disassemble the bumper parts at the upper side for cleaning. I thought one of
the bumper skirts felt a bit odd when pushing at it and I found the cause at
the underside. There is a hole worn in the spoon and the tip of the skirt was
stuck I the hole.
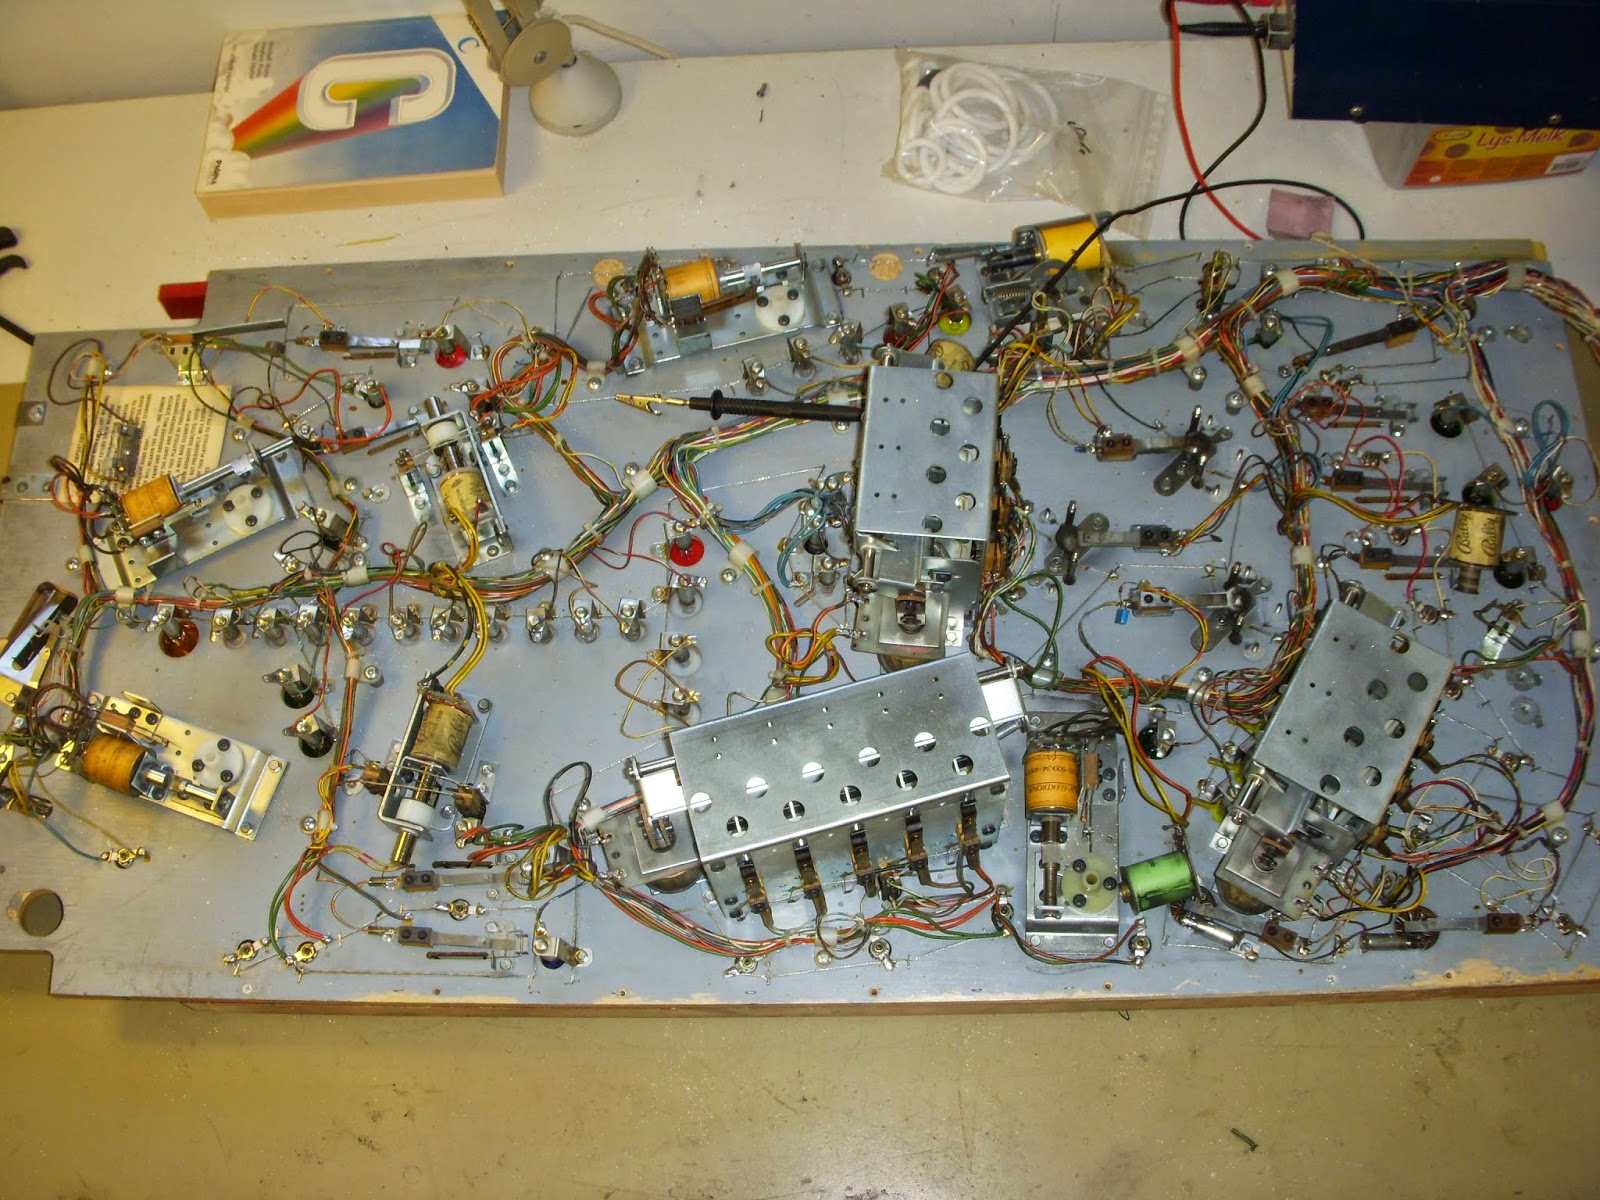
This is the
current state of the playfield, the only missing parts are the bumpers, everything
else is ready.