It’s
quite some time since I wrote anything here, but I have been working,
painting the house. Beside the painting I have also gone through an Attack from
mars. This game looked to be in good shape at a first look and the main reason
for bringing it here to the workshop was a reboot problem.

The
reboot problem was an easy fix. I started measuring the 5v supply at the driver
board and it gave a value of 5,1 V. When measuring the same voltage at the CPU
board it was 4,8 V, so 300 mV was lost in between the boards. After some more
measuring I nailed the problem to J101 at the driver board. I changed both the
male and female connector and just to avoid problems in the future also the
corresponding connectors at the CPU. After this I had the exact same voltage at
the CPU as at the driver, no voltage drop at all. I’m sure it would have helped
to just reseat the J101 connector. This is why it changing the bridge rectifier
and capacitor BR2 and C5 cures the reset problem. It’s nothing wrong with those component,
it’s reconnecting the connectors that solves the problem. But reconnecting the
connector is just a temporary fix, they have to be replaced. I have probably
written this before, but the most important thing when having a reset problem
is not to touch anything. Start measuring the 5 V supply at the CPU, it is
probably a bit too low, then trace it backwards to the supply and you will find
the cause of the problem.
While
fixing this problem I found a couple of MacGyver fixes and when looking closer
there were quite a lot of issues with the game. The most obvious MacGyver fixes
was the GI AC connector J103 which was cracked in two and had been glued
together. This caused one of the GI strings in the back box to not light. Next
MacGyver were the two GI connectors J105 and J106. At some point in time one of
the connectors was quite badly fried. But instead of changing the connectors
the cables had been reconnected to the other GI connector. Most likely they
didn’t use the proper tool to press the cables in to the connector because this
one was also fried. I changed both connectors and reconnected the cables where they
should be.
I found a
couple of other MacGyvers while dissasembling the playfield, like a broken
flipper bushing and a broken bumper body. No worries, it’s an easy fix with some insulation tape and glue.
On the
other hand, it’s easy to see these fixes as a poorly performed repairs when you are working in a
workshop full of spare parts. I’m sure it wasn’t done as a cheap fix to be able
to sell the game with as high profit as possible. Instead someone had the game when
it broke and needed to have it up and running without the resources I have available,
and the problems were solved. I totally respect that, no harm done and it could
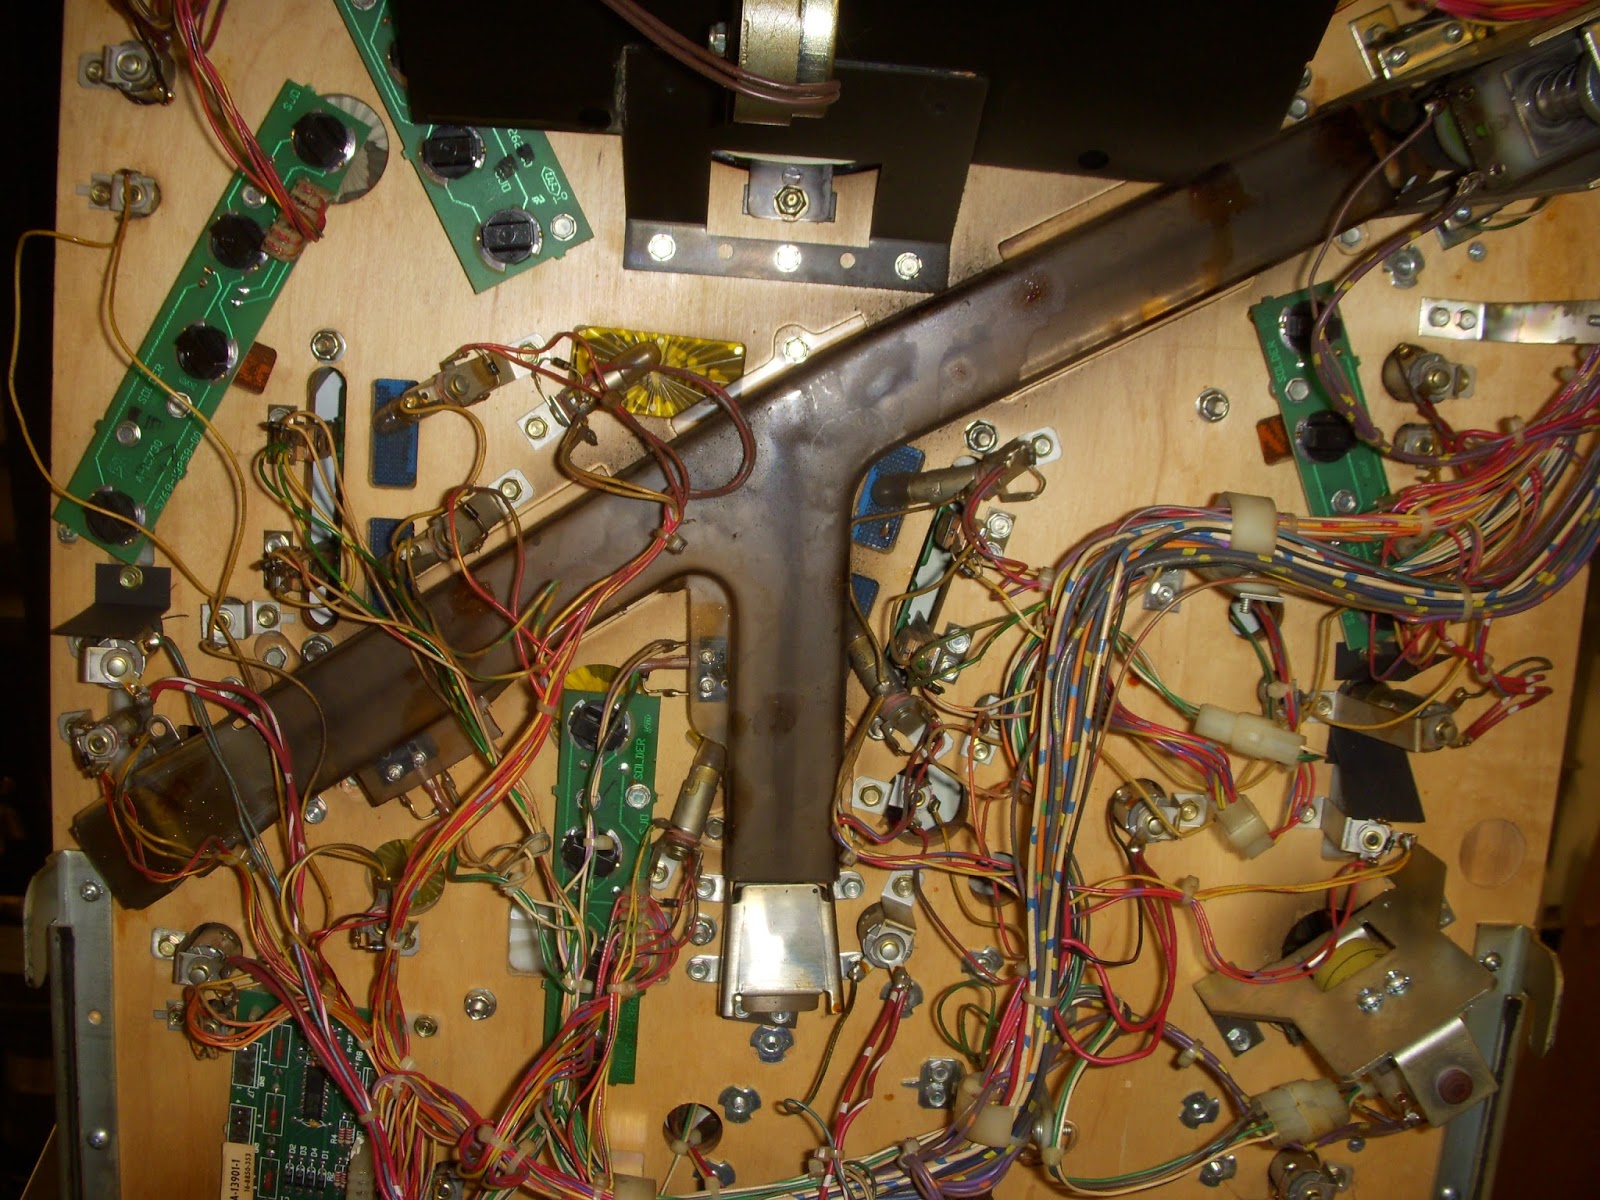
easily be corrected. Well, no harm done... This metal post was new to me.
The plastic
above the target was broken and the screw prevented the ball to get stuck
behind the target. The screw caused a hole in the playfield, but this is
fortunately covered by the new plastic.
First thing
fixed before disassembling the playfield was the UFO where the flasher and LED
ring didn’t work. This was caused by a broken ground in the cable connecting the UFO
to the playfield. Then I disassembled the playfield side for cleaning. It wasn’t the
dirtiest playfield I have seen, but not the cleanest either. Someone had also
squirted a bit too much wax over it and it had seeped in under things leaving
wax stains or almost pools.
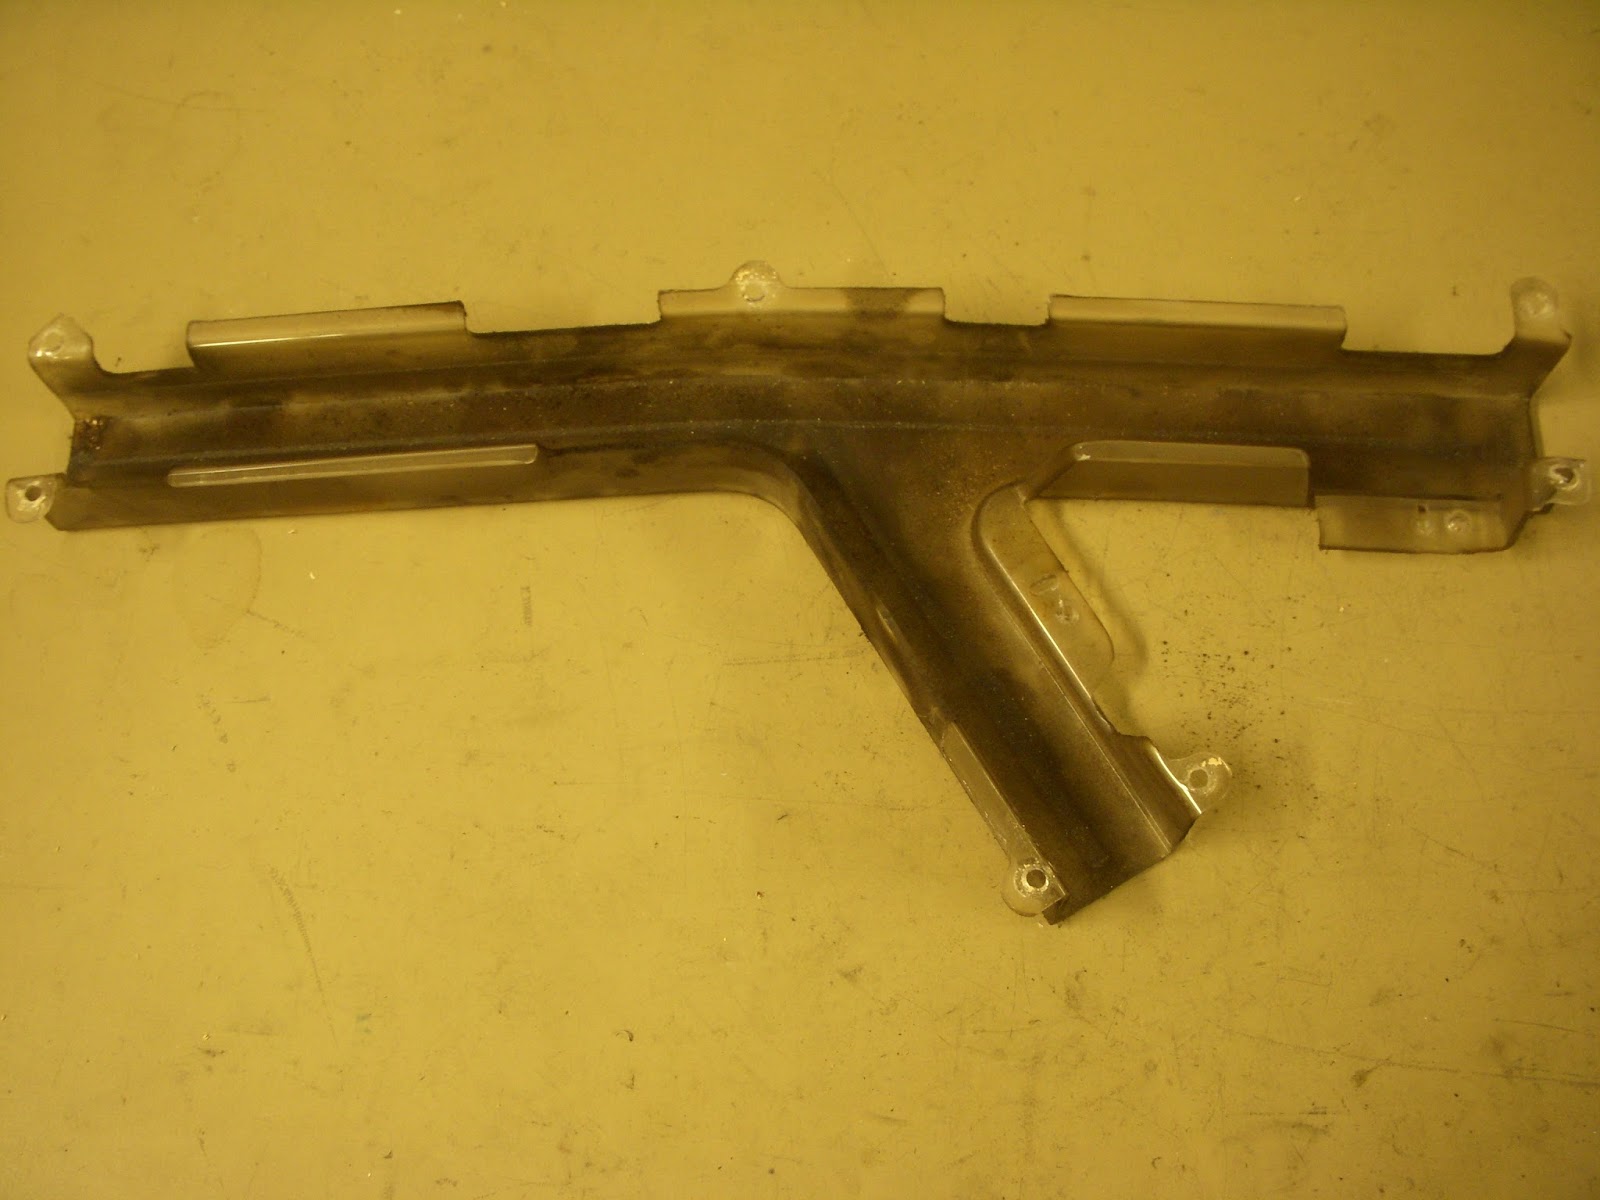
I didn’t
find any major problems here except maybe for a broken ball guide under the
UFO. These get quite beaten up when aiming for the center drop target, and both
sides was bent outwards. I got the broken one repaired and also
reinforced the unbroken screw holes with silver solder to make sure they stay straight and don’t break.
Once the
upper side of the playfield was disassembled and had got a first cleaning I took
it out of the cabinet and placed it at the workbench to easier access the under
side.
All
mechanical units was disassembled, checked, new coil sleeves and reassembled again and all light PCB's and playfield inserts was cleaned.
One of the
switch wires of the drop target unit was hanging in just one strand. The switch
was also loose and wiggled back and forth when the target was dropped and
raised, so it was just a matter of time until the cable would have broke
completely. Also
the switch lever was a bit too long and had a tendency to get stuck in the drop
target spring.
This coil was missing it’s wrapper, I printed a new one and it made the coil look like new again.
The retainers of the moving target unit were quite badly chipped and didn’t hold the target carrier as it should and I made a new pair out of a piece of Lexan.
The three
pop bumpers was rebuilt with new body, base, skirt, coil sleeve, lamp holder and
spoon. They alse got LED lighting and new bumper caps.
This
was an interesting problem. There were wrong type of washers used at the bumper
rods and they had been pushed down the rod and it was almost impossible to get
them out. So new bumper rod washers was needed when reassembling the bumpers.
The last
thing to fix before the game was ready was the back box lamps. There were
several broken lamp holders and someone seems to have misunderstood the meaning
of gray and yellow sockets. There were 555’s inserted where there should have
been flashers and a flasher had been used in a GI socket. Guess if the 555’s
was blown.
And the
most important thing of all, remove the batteries from the CPU board.