
Once
again, long time since I wrote something here. The horses and riding takes most
of my time, but I try to do some work in the workshop every now and then. This
time I have two Tales of the crypt to take care of. The one to the left is
bought as a partly working restauration object and the one to the right is
bought as a fully working players machine and I started with the right machine.
The reason for getting this game in to the workshop is that when the owner got
it home and started playing it he discovered some audio problem. There was only
one call out played, ‘Let’s go chopping’. Whatever hit at the playfield gave
the same call out, quite annoying. I started with this problem and it was an
easy fix, the flat wire from the CPU was inserted one pin off. Once it was in
the right position all sounds worked fine.

Next thing to look in to were the drop
targets not resting. These worked properly before the game was transported to
me and when opening the game I found the reason. The reset plunger had in some
way managed to drop out of the coil. There was no way to get it back in without
releasing the coil, so how it managed to find its way out is a mystery. When I
went through the drop target assembly I replaced the sleeve with a slightly
longer one to prevent it to happen again.


The general condition of the game was quite
good but it needed an overhaul with cleaning, new rubbers and all the
mechanical assemblies gone through.


One problem I found while test playing the
game before disassembly was that the ball sometimes found its way back in to
the shooter lane during play. The reason was a broken ball gate and luckily, I
found the missing piece in the bottom of the cabinet since this type of gate is
more or less impossible to find now days. A couple of spot welds got it back in
place again


Another problem I found while playing the
game was the ball got stuck in some way in the subway to the upper right VUK. I
managed to replicate the problem while having the subway out of the playfield
and it was a misaligned switch causing the problem.

So, on to the disassembly of the topside, every
bit and piece was removed to get full access for cleaning and polish the
playfield, and of course also to clean and polish all the bits and pieces.

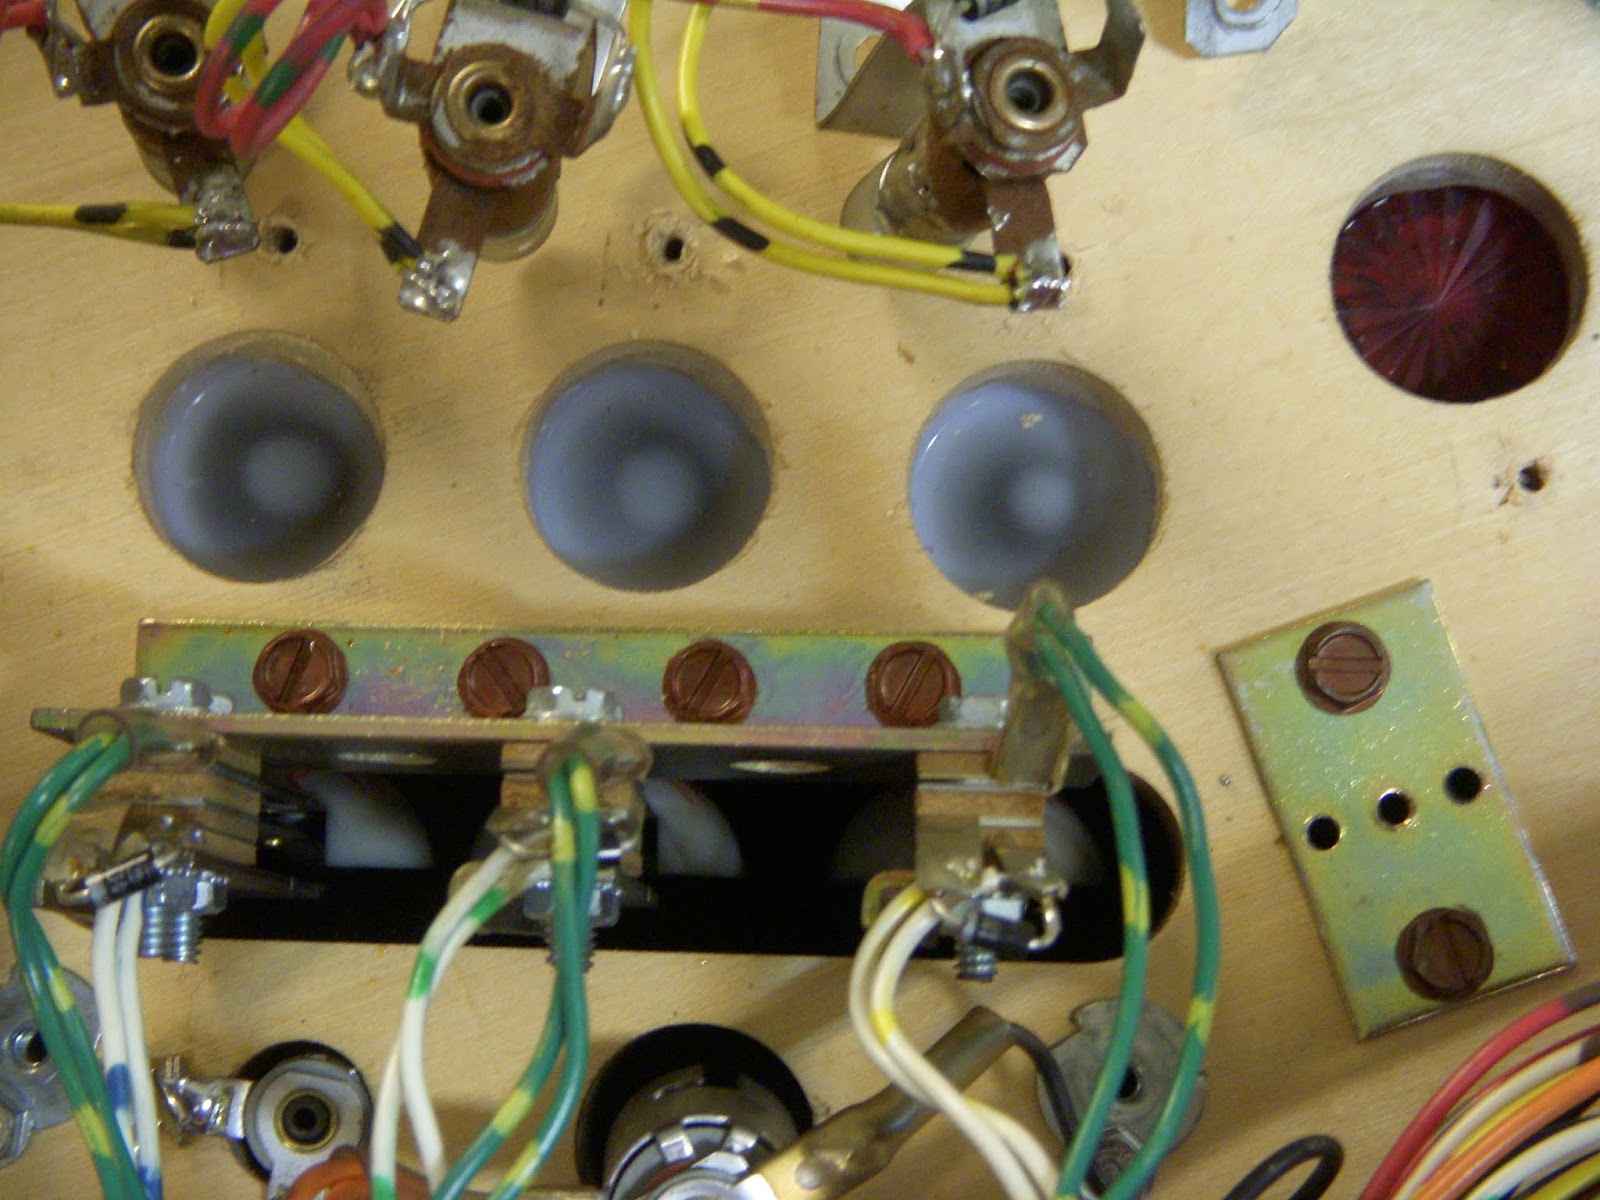


All inserts and light panels was cleaned and lamps replaced, there was no budget for replacing the bulbs with led’s, but a few led’s found their way in to the game anyway. Red leds in the bumpers and those bulbs that had rubber condoms at the topside was replaced with led’s, still with the rubber condoms to make it look like ordinary lamps, but brighter. Also the blue inserts at the playfield got blue led’s since it was very hard to see if they was lit with the ordinary bulbs.


All mechanical assemblies at the playfield
was disassembled, cleaned, polished and got new coil sleeves. The flippers was
rebuilt with new plungers, links, bushings, eos switches, bats and sleeves.


The
scoope hole had some quite bad wear, more than what a cliffy would cover. I
rebuilt the missing wood using plastic filler, touched up the missing paint,
covered it with a piece of mylar and added a cliffy protector. There are some
reflections in the mylar at the picture, it looks way better in person.


The scoop was almost as made to be lit, the
slit for centering the ball to the plunger was perfect for letting the light
through, so I couldn’t resist to add a LED. I made a bracket for the lamp holder
and connected it to the GI. I thought that purple would be a nice color to use
but when lit it didn’t look as good as I wanted. After testing several colors I
went for a blue LED.

The
captive ball gave me some headache. When I got the game there was rubber
sleeves at both posts making it almost impossible to hit the ball. After
reading through some posts at pinside and looking at the flyer at ipdb I’m
quite sure that the game was designed for a rubber sleeve at just the right
post. This makes it easier to hit the ball, and clone a ball during multlball.

Next up was the speaker panel. There were two problems there, beside the dirt. No sound at all from the front speakers and the DMD was missing the right most column. I first looked in to the missing sound and when looking closer I found that both left and right speaker was connected in parallel to one power amplifier. Thais gave probably a to high load and the amplifier had failed. I changed this IC and reconnected the speakers properly and then I had sound at both channels.


The
DMD problem was interesting. I first didn’t have much hope to be able to repair
it but it ended up being quite easy. One connection pin to the display was
broken off and it was an easy fix to solder it together again. I haven’t ever
seen anything like this before. It’s probably some kind of damage during
production, I can’t see any other reason for a pin to snap of in this way.

The
last thing to do was to go through the boards and reflow the connectors, and
the most important of all… Relocating the back-up batteries out of the CPU
board. And to top it off I made a couple of score cards.

Inga kommentarer:
Skicka en kommentar